
MIS Department Policy & Procedure
LogMeIn Installation
From the new PC, log into logmein.com under your administrative account.
Click “Computers” and then “Add Computer”.

You will then be prompted to download the installer.

Accept all defaults with the exception of the Computer Description. The computer description should match the format below.

Once the installation is completed, you should see the computer in LogMeIn (it might take up to a minute, and you may have to refresh the feed). Search by the computer name and then click on “Properties”.
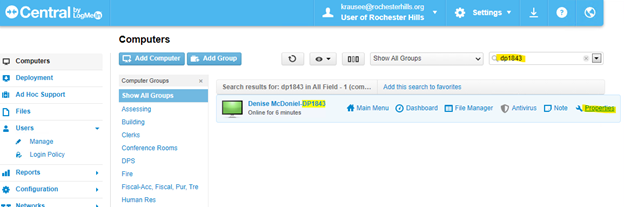
Now, the computer needs to be added to the appropriate group. Select the correct group from the drop down and then click “Save”.

Finally, the user must be granted permission to log into the computer. Click “Users”, then “Manage”, and then search for the user. Click on the user’s name to edit permissions.

Search for the new computer, click the checkbox next to the new computer, and then click “Save”.

If this is a replacement computer, the old computer can then be deleted from LogMeIn once taken out of service.
Was this article helpful?
That’s Great!
Thank you for your feedback
Sorry! We couldn't be helpful
Thank you for your feedback
Feedback sent
We appreciate your effort and will try to fix the article